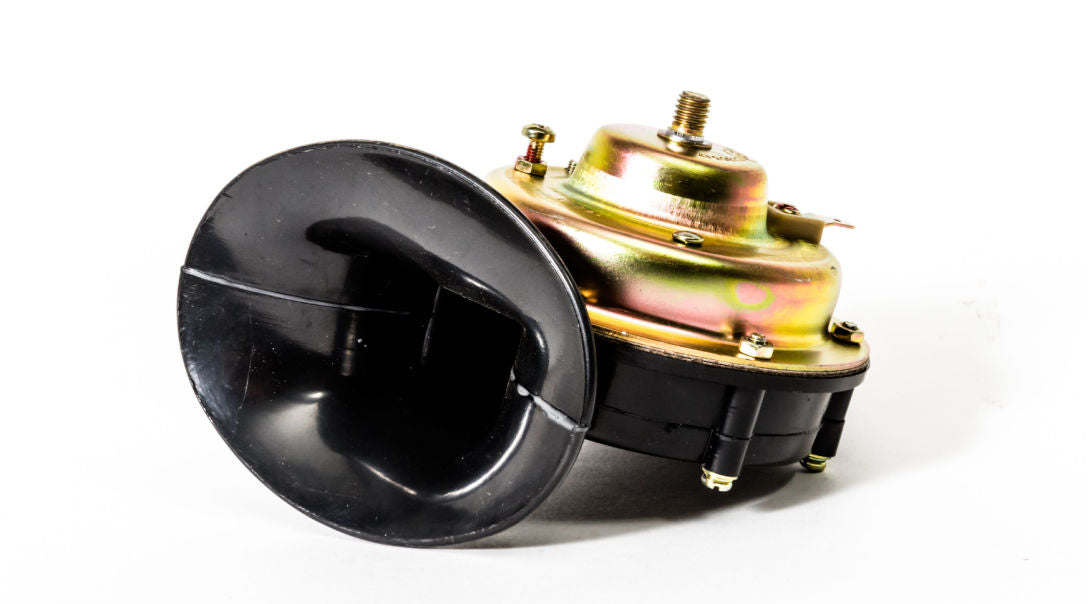
A Stress-Free Car Horn Replacement Guide
A Close Look at the Hassle-Free Process of Car Horn Replacement
Are you worried that your car horn is on its last legs? If you response is yes, it may be time to replace it. Fortunately for you, car horn replacement tends to be a pretty basic and simple project.
How can you tell that your car horn is overdue for replacement? You may notice that its tone just isn't what it used to be. It may not work at all. Your horn may not be as loud as it used to be as well.
Remember, a car horn that just isn't operational can be a major hazard for drivers. It can also stop cars from passing their inspections.
What makes car horns cease working seemingly out of the blue, anyway? If your car horn no longer is doing its job, then oil, dust and grime may be responsible. Car horns are located at the front of vehicles. Little particles, oil, dust and muck tend to slowly but surely collect in this area. This accumulation can bring on connector corrosion. It can wreak havoc on conductivity, too.
Other things that can do a number on car horn functioning are faulty wire connectors, faulty relays, blown fuses, airbag troubles and questionable horn switches. You should never make the mistake of brushing off possible issues with the functioning of your car horn. If you ignore them, you may give them the opportunity to get a lot worse. You may seriously endanger yourself and others on the road as well.
Make Sure You Have All the Necessary Materials
If you want to replace your horn with ease and confidence, you need to round up safety glasses, a car horn replacement kit, a wrench, repair manuals and, last but not least, protective gloves.
Find Out Exactly Where Your Horn Assembly Is
The horn tends to be situated on the radiator support. If it's not there, check in the back of the grille of your car.
Disconnect Your Battery Cable
Locate the negative battery cable. Once you do that, safeguard it for later use.
Do Away With the Electrical Connector
Do away with the electrical connector of the horn. You can do this simply by pressing downward on its tab. After that, just let it glide off easily.

Take Off the Retaining Fasteners
Do away with the fasteners of the horn. You can take them off using a standard wrench. If you don't have a wrench, you don't have to panic. A ratchet should be able to do the trick, too.
Take Off the Horn
After you have taken off both the fasteners and the electrical connectors, you're finally ready to take off the horn. Pull it out your car rather gently.
Put in Your Brand New Horn
It's time to go forward with the new horn assembly installation process. Put the replacement horn in its new spot.
Install the Fasteners Again
Install your fasteners again. Make sure you tighten them securely as well. You should make sure that they have absolutely no wiggle room at all.
Install the Electrical Connector Again
Plug this connector right into your replacement horn.
Connect Your Battery Once More
Connect your negative battery cable yet again. Once you've reconnected it, you can work on tightening it.
Did you complete all of those steps successfully? If you have, then your replacement car horn should be all set to go. Voila!
Check Out Partsmax Autoparts Warehouse!
Are you searching everywhere for a top-notch car horn replacement kit? If you are, then you should check out Partsmax Autoparts Warehouse headquartered in sunny Miami, Florida. We stock a broad assortment of new aftermarket automotive parts here. We have the distinction of being The Sunshine State's biggest auto parts warehouse. We don't only sell aftermarket auto parts. We also sell plentiful choices in auto accessories.
You can purchase our products online via our website. If you reside in South Florida, you can head to our retail store, too. Contact our courteous, knowledgeable and responsive team as soon as possible to find out more about our first-rate aftermarket auto parts. Our team members are always enthusiastic about answering customer questions in detail.


