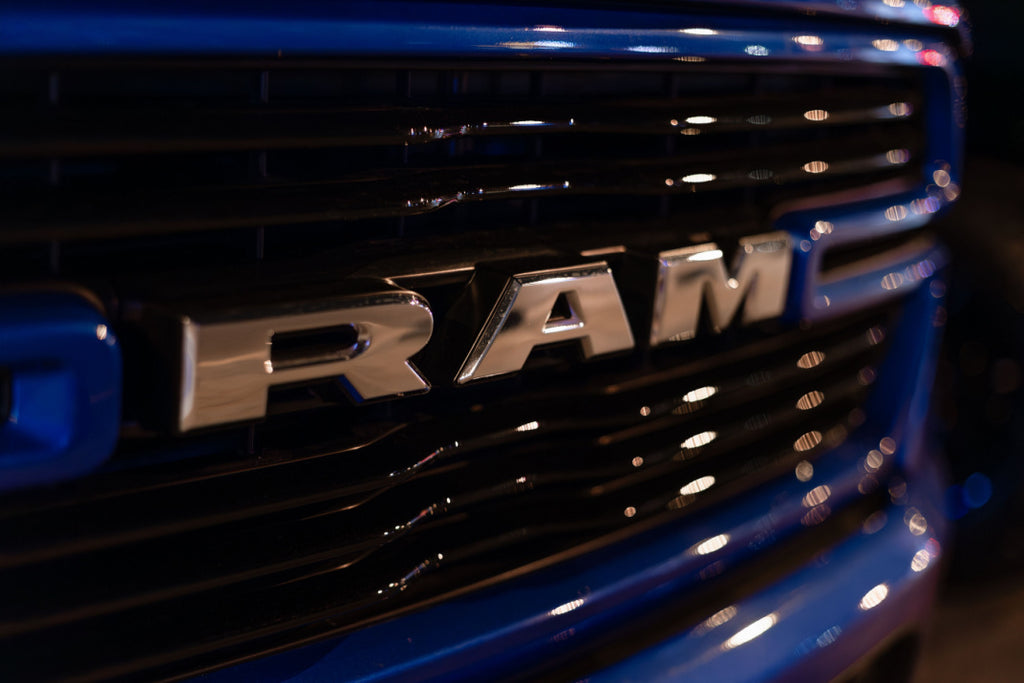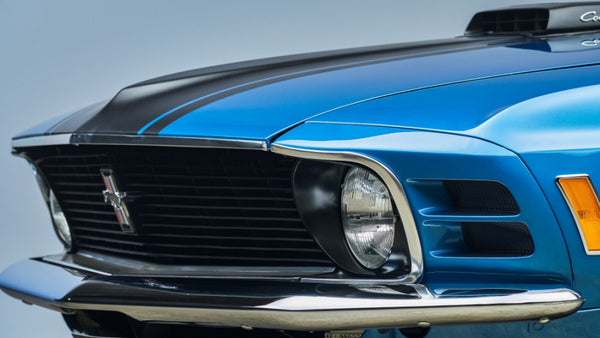
A faded, cracked, or outdated front grille can detract from your car's appearance. But fortunately, replacing the grille is an easy DIY project anyone can tackle in their garage. Swapping out this exterior part makes a huge difference in freshening up the look of your entire car.
You can completely transform the front-end style with a new replacement grille, plus a few basic tools and some mechanical know-how. This straightforward repair project is a great way to upgrade your older ride's look on a budget. Follow this guide to learn everything you need to know about changing out your front car grill yourself.
When to Replace Your Grille
There are a few signs that it may be time to replace your car's grille:- CRACKS OR DAMAGE. If your grille is cracked or has collision damage, it likely needs to be replaced. Dents, chips, or holes in the grille can let in moisture and debris that will eventually cause bigger problems.
- FADING OR CLOUDINESS. Over time, the chrome or other finishes on a grille can become faded, cloudy or oxidized. This dulls the look of your car. Putting on a new grille makes the front end look fresh again.
- YOU WANT TO CHANGE THE STYLE. You may want to upgrade from a basic factory grille to something more aggressive or streamlined. Swapping out the grille is an easy way to modify the look.
- PREVENTATIVE MAINTENANCE. If your grille is more than 5-7 years old, replacing it when you replace other front-end parts like headlights can help prevent rust and deterioration.
How Long Does It Take to Replace a Car Grille?
For most vehicles, plan to replace the front grille 2-3 hours. Simple grilles may only take an hour, while more complex grilles can take 4 hours or more, especially if you're doing it for the first time.
Here are the general steps and time estimates:
- Remove the bumper: in 30–60 minutes.
- Detach grille: 15-30 minutes.
- Remove trim pieces: 15-30 minutes.
- Install new grille: 15-30 minutes.
- Reattach trim pieces: 15-30 minutes
- Reinstall bumper: 30-60 minutes
Working slowly and carefully with bolts and fasteners will help the project go smoothly. Have your new grille and any tools gathered beforehand, so you're not searching for items mid-project.
DIY Car Grille Replacement Supplies
Replacing your grille will require some basic automotive tools and a new replacement grille. Here's what you'll need:
- NEW REPLACEMENT GRILLE. Choose a grille for your vehicle's make, model, and year.
- SOCKET SET. You'll need a variety of sockets to remove bolts. A ratchet wrench helps speed up fastener removal.
- SCREWDRIVERS. Both Phillips and flathead screwdrivers help when removing trim pieces.
- PLIERS. Needle noses and regular pliers help manipulate clips and fasteners.
- PROTECTIVE GLOVES. Leather gloves protect your hands from sharp edges.
- REPLACEMENT HARDWARE. New clips, bolts, screws, etc., may be needed. Get a kit specific to your car.
- MASKING TAPE AND MARKER. Taping and labeling parts helps keep track of trim pieces.
- PLASTIC PRY TOOLS. These prevent scratching while removing trim segments.
- RAGS. For wiping up grime and lubricant.
- REPLACEMENT BULBS. Since the bumper is off, replace any burnt-out headlights or marker lights.
Purchase quality tools so you can handle cheap ones. Investing in a good tool kit now will also serve you well for future automotive repairs.
Step-by-Step DIY Grille Replacement
REMOVE BUMPER
- Park on a flat surface and set the parking brake. Remove any trim pieces that obstruct the bumper bolts.
- Locate and remove the bolts holding the bumper cover in place. There may be bolts along the fender wells and underneath the car. Place bolts in labeled bags.
- Carefully pull the bumper cover off the vehicle. Disconnect any electrical connectors for lights.
- Inspect the bumper cover for damage and set it aside.
- Examine how the old grille attaches. There will likely be bolts, clips, and adhesive strips.
- Remove any trim pieces or emblems that obstruct the grille. Label pieces and tape them to cardboard.
- Start detaching the grille. Removing bolts first usually makes prying off the grille easier.
- Remove any adhesive strips or clips. Pry the grille evenly to prevent cracking.
INSTALL NEW REPLACEMENT GRILLE
- Thoroughly clean the grille mounting area on the vehicle. Remove any old adhesive or debris.
- Per the instructions, attach any mounting brackets or support bars needed for the new grille.
- Feed any electrical connectors through the openings.
- Align the new grille and press it into place. Make sure the attachment points line up.
- Reinstall the bolts, screws, adhesive strips, and clips to secure the new grille.
REPLACE TRIM AND REINSTALL BUMPER
- Snap trim pieces back into place if they were removed during grille installation.
- Check that the bumper lines up properly and reinstall bolts to secure it.
- Reconnect all electrical connectors, like fog lights and turn signals.
- Remove any protective tape you applied during the process.
- Stand back and admire your sleek new front end!
Taking the time to correctly remove and install the bolts, clips, wiring, and trim results in a seamless grille swap. If any pieces are giving you trouble, don't force them. Find out what needs to be adjusted to get a proper fit.
Buying a New Replacement Grille
Choosing the right replacement grille ensures it fits your car properly. When purchasing, look for the following:
- EXACT FIT. Get a grille made for your vehicle's make, model, and year.
- OEM STYLE OR AFTERMARKET. OEM grilles match the original. Aftermarket grills let you change the style.
- MATERIAL. ABS plastic grilles are affordable and durable. Go with stainless steel for a chrome look.
- COATED OR RAW. Coated grilles have a colored, chrome, or matte finish. Raw grilles are uncoated.
- HARDWARE INCLUDED. Replacement grilles should include the brackets, clips, and bolts needed.
Shop at Partsmax Auto Parts online or visit our store to find the perfect custom-fit grille for your car. The knowledgeable staff can help you pick the ideal replacement grille, whether you want OEM style or sporty aftermarket. All grilles come with a warranty, so you can install them confidently.
Maintaining and Cleaning Your New Grille
Once your new grille is installed, properly caring for it keeps it looking great. Here are some tips:
- Rinse it regularly with water to prevent dirt buildup and remove debris.
- Use soap and water to clean the grille, avoiding harsh abrasives.
- For chrome grilles, use chrome polish to restore the shine.
- Wax the grille every few months to protect the finish from UV rays.
- Repair chips or scratches right away to prevent rusting.
- Watch for clouding or oxidation and clean promptly to restore the luster.
With regular washing and periodic polishing, your fresh grille retains its like-new appearance for years. Avoid using high-pressure washers or steam cleaners that can damage the finish.
Get Your Car Looking Great with a New Front Grille
With some basic tools and this guide, you can swap out your front grille on a Saturday. Or stop by one of our Florida stores for a free battery test or check engine light scan while picking up your new grille. Our experts can answer any questions about selecting the correct part. Your car will look years younger and stand out with a shiny new grille. Give your front end an easy makeover and order your new replacement grille today!


