
DIY Guide: Replacing Your Car’s Hood Panel
Is your car's existing hood rusted, dented or just plain dull and lacking style? Installing an upgraded aftermarket car hood panel is an affordable way to boost performance, refresh exterior styling and add custom touches. With some mechanical aptitude and DIY know-how, you can replace hood panels in your garage and save hundreds over paying a body shop.
In this guide, we'll walk through everything in upgrading from your old, tired stock Cars Hood Panel to an exciting new replacement.
Why Swap Out Your Car's Hood Panel?
There are several compelling reasons to consider replacing your existing hood panel:
- COLLISION DAMAGE: Accidents can easily bend, crack or misalign panels so they no longer open, close or seal properly.
- RUST & CORROSION: The sheet metal hood can show rust, holes and damage over time despite good-looking paint.
- REDUCE WEIGHT: Lightweight carbon fibre cars' hood panels shed pounds, improving acceleration, speed and fuel mileage.
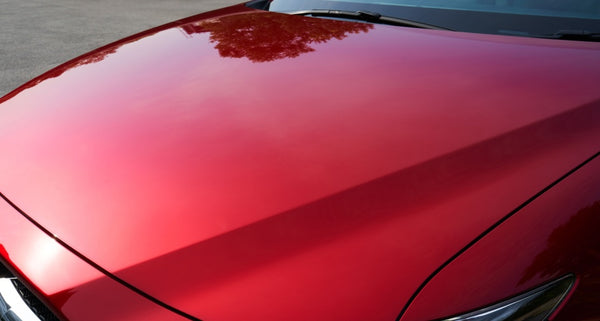
- CUSTOM STYLING: Painted, vented, inter-cooled, or carbon fibre hoods help your car stand out.
DIY Car Hood Panel Replacement Playbook
While a complete body panel replacement seems complex, upgrading just the hood panel breaks down into very approachable steps:
- Safely disconnect the battery to prevent electrical issues.
- Locate and release hood latches and support cables.
- Detach wiring, lines, and sensors threaded through the existing panel.
- Unbolt the hinge hardware to remove the original hood panel.
- Test fit, align and install new upgraded Cars Hood Panel.
- Reattach hardware and electrical and perform final hood adjustments
Must-Have Parts & Specialty Tools
Don't start this exciting hood upgrade project without gathering the essential supplies:
- A new OEM or aftermarket replacement hood is verified to precisely fit your car's year, make, and model.
- Fresh hood lift supports to hold open the upgraded panel.
- Hinge hardware – pins and bolts to securely attach the new panel.
- Standard & metric tool kit – socket sets, wrenches, protective gloves, etc.
- Torque wrench for precise fastener tightening to specs.
- Touch-up paint to preserve exposed metal from future rust.
Safely Disconnect Vehicle Battery
Since you'll encounter live wiring during panel removal, always disconnect the negative battery cable first. This critical safety step cuts electrical power to avoid dangerous shorts.
Find & Release Hood Locks
Check factory service manuals to identify the location and operation of the hood latches, support struts, and safety cables initially installed by the manufacturer. Disengage these catches before attempting to raise the panel.
Detach & Label Existing Hardware
Before lifting off the old hood panel, methodically detach any wiring harnesses, washer fluid lines, and sensor connectors threaded up from below. Label wires and take photos to simplify reassembly.
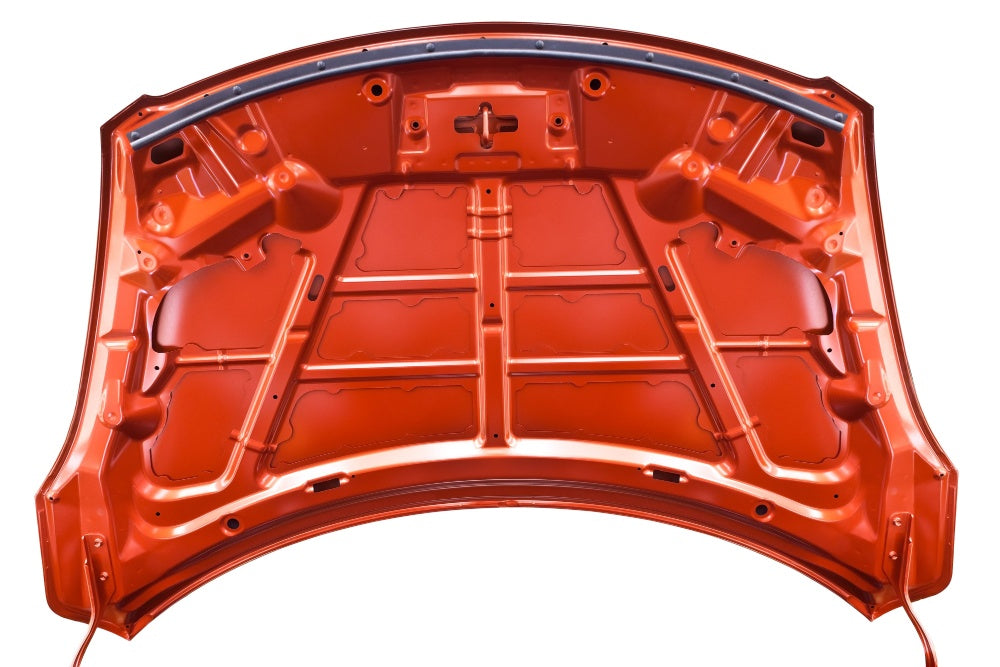
Lift Out Old Panel & Trial Fit New
With a helper stabilizing the panel, unbolt all hinge hardware to remove the existing hood. Thoroughly clean mounting holes before test fitting the new replacement hood. Check alignment.
Installation Tips for New Car Hood Panel
When trying to fit the new hood panel, have a helper hold it while you hand-tighten the bolts to allow positioning adjustments. Ensure proper perimeter gaps before final torque specs. Reuse hardware if in good shape or upgrade to lightweight aluminum alloy hood pins. Always use anti-seize on metallic fasteners for easy future removal.
Reattach Hardware & Electrical's
When perfecting alignment, use a torque wrench to tighten fresh or reused hood bolts to factory specifications for safety. Immediately reattach labelled electrical connectors and fluid lines before closing the hood.
Adjust, Lubricate & Test Drive
Carefully test the operation of the new hood panel, checking for smooth opening & closure. Adjust bump stops if needed and lubricate fresh hinges. Go for a test drive to confirm proper fitment.
Post-Installation Inspections & Safety Checks
Closely examine the new hood for any installation issues. Recheck torque on critical fasteners like hood pins. Ensure proper perimeter gaps and alignment to adjacent body panels. Confirm sealing effectiveness by using a hose to simulate heavy rain. Complete a visual engine bay inspection while driving to check for abnormalities.
Why DIY Car Hood Panel Replacement?
Tackling an exterior body panel upgrade still intimidates some car owners. However, replacing the cars hood panel is an achievable weekend project for intermediate DIY mechanics. Beyond the significant cost savings over paying a traditional body shop, you'll gain confidence in taking on more substantial auto projects.
Be sure to check out our online inventory for any aftermarket auto parts you may need or simply visit our warehouse.