


DIY Tips for a Flawless Fit of Your New Aftermarket Fenders
Are you ready to give your beloved vehicle a stylish makeover while improving its functionality? Look no further than aftermarket fenders! These versatile upgrades can completely transform your ride. But here's the thing: getting them installed perfectly requires attention to detail and precise alignment. Fret not! This comprehensive guide walks you through each step, providing practical tips to ensure a seamless installation of your new aftermarket fenders.
Before You Begin:
Before beginning the installation process, you must possess the right equipment. Have a reliable socket wrench, screwdrivers in different sizes, a useful pry tool, a rubber mallet for gentle adjustments, masking tape, a measuring tape, safety gear like goggles and gloves, and most importantly, the rust prevention spray. Oh, and remember, it's crucial to read and follow the specific instructions provided by the Fender manufacturer. They're the experts!
Step 1: Preparing for Installation
To set the stage for a successful installation, find a nice level spot to park your vehicle and engage that parking brake. Safety first! Now, pop open the hood and disconnect the battery. This simple precaution will help prevent any electrical mishaps during the installation process. Next, whip out your trusty measuring tape. Measure the distance between the fender mounting points and compare them to the measurements of the original equipment manufacturer (OEM) fenders. This way, you'll ensure a perfect fit.
Step 2: Removing the Old Fenders
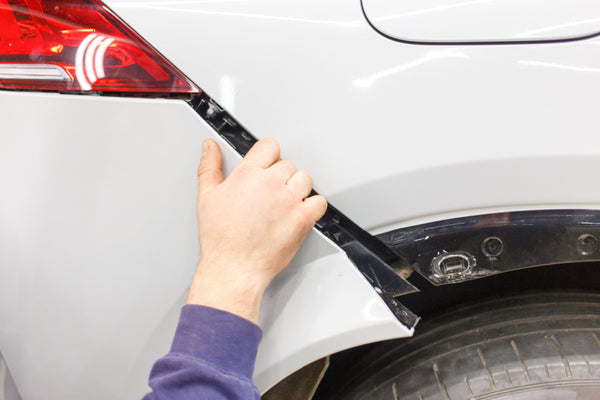
It's time to bid farewell to the old fenders. Start by loosening the fender closest to the driver's seat (or the passenger side for right-side drivers). Swing open the door and carefully unscrew any screws attaching the fender to the doorway. Exercise caution not to strip any screws in the process. Next, remove any screws or bolts that secure the fender to the vehicle's frame or inner panel. With the help of a trusty pry tool or your nimble hands, gently detach the fender. Be mindful of the surrounding components, ensuring you don't cause any unintended damage.
Step 3: Fitting the New Aftermarket Fenders
Now comes the exciting part—fitting those brand-new aftermarket fenders! Hold the fender against the vehicle and align the mounting holes. Before fully securing them, perform a test fit to ensure everything lines up just right. If the fender doesn't align perfectly with the door, don't worry. Grab that masking tape and mark the areas that need adjustment. For horizontal alignment, a gentle tap with the rubber mallet can nudge the fender into position. Should you need to make a vertical adjustment, you can try adjusting the mounting brackets or using washers as shims. Once you're satisfied with the alignment, securely fasten the fender using the appropriate screws or bolts. Remember, tighten them securely, but don't overdo it. You don't want to risk damaging the fender or the surrounding components. Repeat these steps for the remaining fender.
Step 4: Checking Door and Fender Alignment
Having affixed the new fenders, it is necessary to inspect the fender-door alignment. To do this, close the doors and analyze the space between the fenders and the doors. Is the spacing the same and balanced on both sides? If you notice any inconsistencies, fear not! Adjustments can be made. Loosen the bolts on the hinges and carefully move the door up, down, or sideways until you achieve that desirable alignment. Open and close the doors several times to ensure smooth operation and verify that the alignment is spot-on. Don't forget to repeat this process for the other side of your four-wheeled beauty.
Step 5: Final Touches
As you near completion of the installation, reattach the battery and verify all electrical components are running properly. Inspect the fender assembly to ensure it is in proper alignment and without any spaces. If you notice any areas that require adjustment, make those final tweaks to achieve the perfect fit. Now, it's time to add that finishing touch! Grab a clean cloth and give those new fenders and the surrounding areas a good wipe-down. Once installation is complete, eliminate any evidence of your work by wiping away fingerprints, dirt, and other debris. Now your vehicle has just leveled up!
Conclusion:
With these comprehensive and conversational DIY tips, you're well-equipped to tackle the installation of aftermarket fenders like a pro. Pay close heed to all details, take your time, and obey the manufacturer's directions. If you ever need high-quality aftermarket auto parts or professional advice, remember that Partsmax Auto Parts and Accessories is here to support you. Explore our extensive online selection or visit our retail store to find the perfect aftermarket fenders and elevate your vehicle's style and functionality. Get ready to turn heads on the road with those stunning aftermarket fenders!