How To Paint Your Replacement Bumper

You have made the decision to replace a front or rear bumper cover that has been damaged with a new one. As a consequence, the appearance of your vehicle will be significantly improved. You are repairing what had previously been an eyesore that reduced the value of your motor. After the replacement, you will have an attractive bumper, free of chips and cracks.
Painting the new plastic bumper cover you purchased is not as difficult as it might first appear. We promise you that the method is rather simple to learn even if it is your very first time doing it.
A quality paint job cannot be accomplished in a single day; you should allow several days to complete the task properly.
1. How to Prepare a Plastic Bumper for Painting
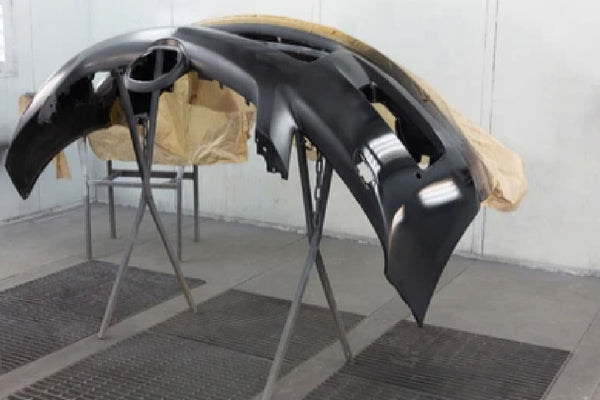
Make sure you have a clean, dry, and secure space to work in before you begin. You should not try this at the park.
Placement is crucial, so check that you will have enough room to work around your automobile, as well as adequate lighting and ventilation. If possible, pick a spot that has both power and little dust. Painting inside a home's garage may be dangerous because paint fumes can catch fire if they come into contact with the heater or furnace.
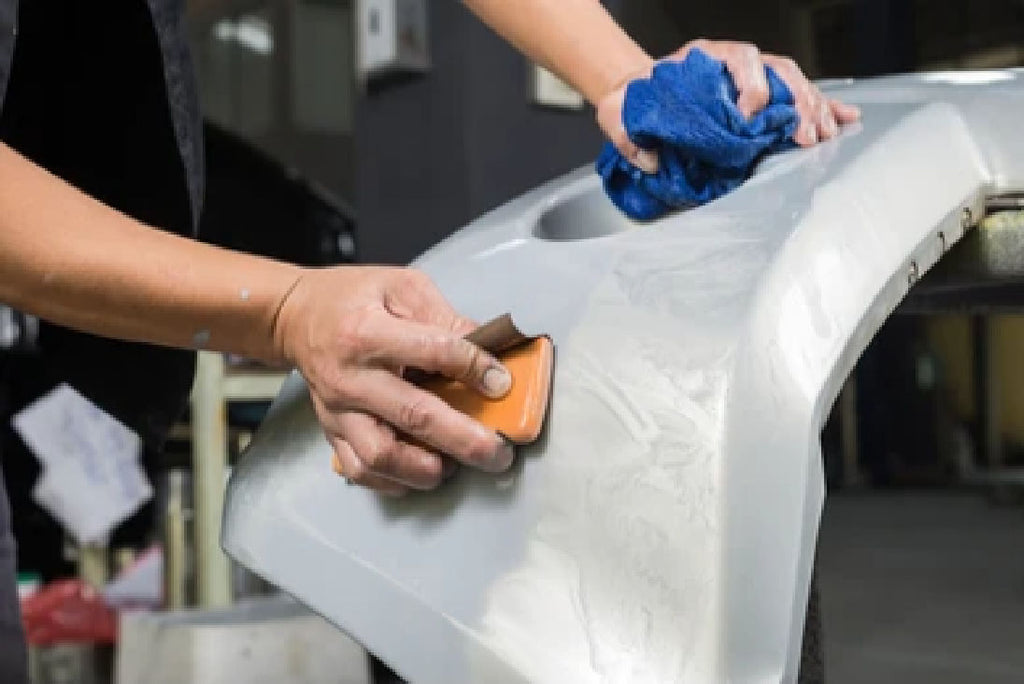
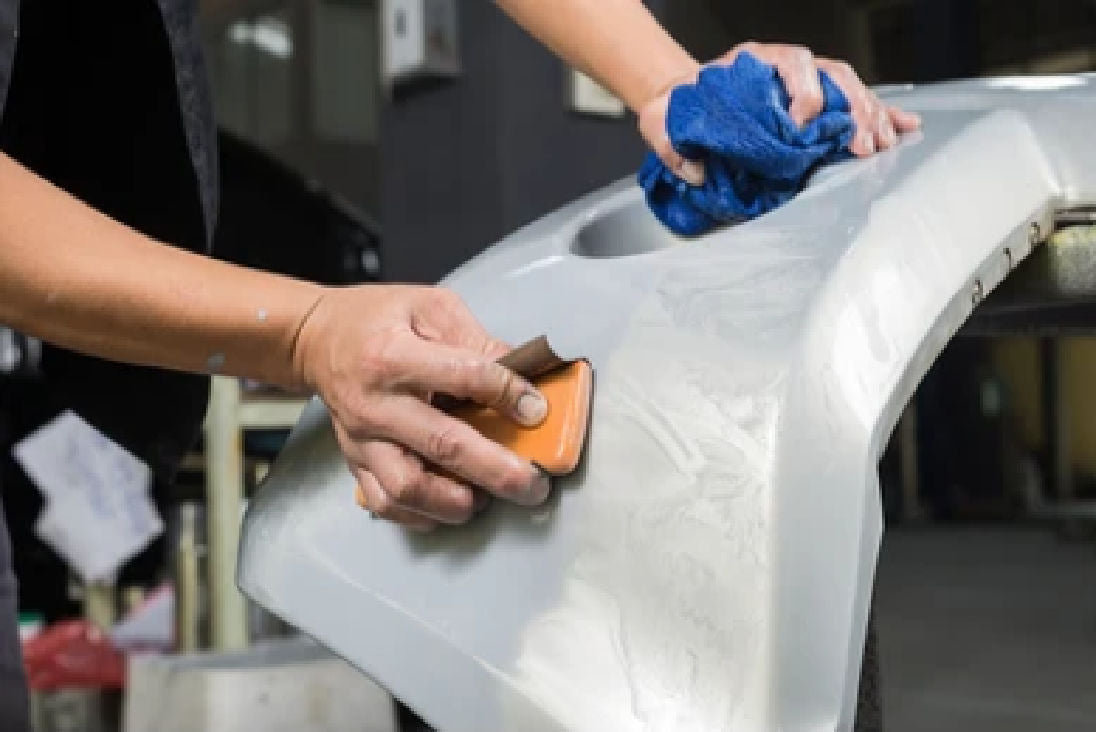
Even though your replacement bumper cover will be prepped and painted, the coating is likely to be slightly rough and have defects that will become more evident once a glossy paint is applied. Use your hands to feel the surface and pinpoint the rough areas. After using 600-grit sandpaper to wet sand the entire bumper, you should clean it with wax and grease remover. Towel one (the disposable one) should be used wet, and a store towel should be used to dry.
2. Clean Your Working Area
Completely clean up the sanding dust from Step 1. After you've completed cleaning, use a fresh microfiber towel to dry the surface.

3. The Painting
A suitable mask or respirator should be worn while painting to protect against inhalation of cancer-causing carcinogens. Applying the base coat is the first step. For roughly a minute, shake the container of base coat. Keep a distance of around 12 inches when spraying the base coat. If you want to avoid a run, only spray a thin layer. Each paint stroke should ideally overlap the one before it by half.
Wait for the paint to dry, then inspect it for flaws. If you notice any, go over the area with a wet sander to eliminate the rough spots. When the first coat of base paint has dried, you should do it again until you have three layers.
Apply paint in thin, even layers by holding the spray gun around 12 inches away from the vehicle's surface and sweeping it from side to side. Three coats are usually necessary to get full coverage. Drying times vary depending on the brand and might range from 20 minutes to an hour.
4. Apply Clear Coat
The clear coat gloss layer should be applied in the same way as the base color paint was. Use a 12 inch distance and a 50% overlap between spraying passes. Once again use three coats, with a six-hour interval between each. Wet sand any runs in the clear coat using 600 grit sandpaper to remove them. Then apply a little base coat and then more clear coat over this. When you're finished and happy with the results, wait at least 6 hours before attaching the bumper cover to the automobile.
As with any job, the quality of the materials you use makes a big difference to the end results. You can buy the materials you need online at PartsMax or if you are near enough, why not call us or drop by to our warehouse in South Florida, or arrange delivery. All orders placed for delivery to Miami-Dade, Broward, or Palm Beach counties will be fulfilled the following business day.
For almost twenty years, we have provided the people of South Florida with low-priced, high-quality aftermarket auto parts. Now that we've filled over 250,000 square feet of warehouse space, you can rest assured that we have the component you need at a fair price. Browse through their extensive catalog now.

