Dealing with fitment issues with aftermarket parts has become an increasingly common challenge for both professional mechanics and DIY enthusiasts. According to recent industry data, nearly 35% of all aftermarket part returns are due to fitment problems, resulting in billions of dollars in lost time and resources annually. This comprehensive guide will walk you through the most common installation challenges and provide professional solutions to ensure proper fitment of your aftermarket components.
Understanding Aftermarket Part Classifications
Before diving into specific solutions, it's crucial to understand the different types of aftermarket parts available in the market:
Direct-Fit Components
Direct-fit parts are designed to match OEM specifications exactly. However, manufacturing tolerances can vary significantly between producers. Even parts labeled as "direct fit" may require minor adjustments for proper installation.
Universal Components
Universal parts are designed to fit multiple vehicle applications, often requiring modification or adaptation for specific installations. While these parts offer flexibility, they typically demand more expertise during installation.
Manufacturing Tolerances
- OEM parts typically maintain tolerances within ±0.002 inches
- Aftermarket parts may vary from ±0.002 to ±0.010 inches
- Premium aftermarket brands usually maintain tighter tolerances
Common Fitment Problems by Vehicle System
Real-World Case Study: 2015-2018 Ford Mustang GT
When upgrading the suspension on late-model Mustangs, owners frequently encounter fitment issues with aftermarket coilovers. The most common problem occurs at the rear shock mount, where aftermarket units may contact the factory brake lines. Here's our proven solution:
- Install protective sleeve over brake lines
- Use supplied spacing washers
- Adjust shock mounting position by 2-3 degrees
- Verify clearance throughout full suspension travel
Suspension Components
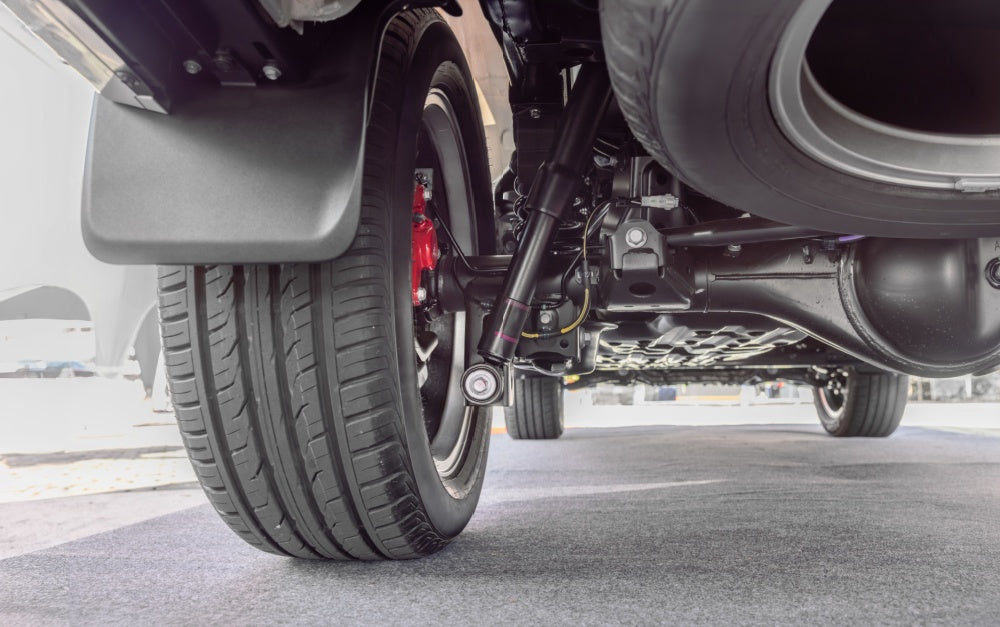
Suspension fitment issues are among the most critical to address, as they directly impact vehicle safety and performance:
Bushing Compatibility
- Incorrect bushing dimensions
- Material durometer differences
- Mounting point variations
Mounting Bracket Alignment
- Bolt hole misalignment
- Bracket thickness variations
- Welding point differences
Spring Rate Variations
- Incorrect spring heights
- Incompatible spring rates
- Coilover fitment issues

Real-World Example: Honda Civic Type R (FK8)
Common fitment challenges we've solved include:
- Aftermarket lower control arm clearance issues
- Camber kit interference with brake lines
- Coilover spring binding at full compression
Solution implemented:
- Modified mounting brackets to accommodate larger bushings
- Fabricated custom brake line brackets
- Added specific spacers to prevent coilover binding
Engine Parts
Engine component fitment requires particular attention due to the precise nature of engine operation:
Sensor Locations
- O2 sensor positioning
- MAF sensor compatibility
- Temperature sensor fitment
Gasket Compatibility
- Material differences
- Thickness variations
- Sealing surface compatibility
Bolt Pattern Variations
- Thread pitch differences
- Bolt length discrepancies
- Torque specification variations
Case Study: LS Engine Swap Components
Recent project challenges solved:
- Oil pan clearance issues in GM F-body applications
- Header fitment problems with aftermarket motor mounts
- Intake manifold clearance with hood
Professional solutions implemented:
- Modified oil pan baffle design
- Custom-fabricated header collectors
- Hood reinforcement modification with heat shield installation
Professional Tools and Equipment Needed
Proper installation requires professional-grade tools:
Essential Measuring Equipment
- Digital calipers (0-6 inch range)
- Micrometers (0-4 inch range)
- Dial indicators
- Thread pitch gauges
Specialty Installation Tools
- Bushing press kit
- Bearing installation tools
- Alignment tools
- Torque wrenches (rated for specific applications)
Step-by-Step Troubleshooting Guide
Pre-Installation Verification
Before beginning any installation:
- Cross-reference part numbers with manufacturer databases
- Take detailed measurements of both OEM and aftermarket parts
- Review installation instructions thoroughly
- Document existing component positioning
During Installation
Primary Installation Steps:
- Test fit components before final installation
- Mark alignment points
- Follow proper torque sequences
- Document any modifications required
Quality Control Measures:
- Check all fasteners for proper torque
- Verify component alignment
- Test for proper movement and clearance
- Document all modifications made
Professional Solutions from Our Workshop
Recent Success Story: BMW M3 (E92)
Customer Issue: Aftermarket big brake kit interference with 19" wheels
Solution Implemented:
- Detailed caliper measurements
- Wheel spacer calculation
- Custom bracket modification
- Proper torque sequence development
Result: Successfully fitted 380mm rotors with zero clearance issues while maintaining factory wheel offset.
Solutions for Specific Fitment Challenges
Adapters and Modification Kits
When direct fitment isn't possible, consider these solutions:
Adapter Applications:
- Sensor mounting adapters
- Bracket conversion kits
- Spacing solutions
- Wiring harness adapters
Custom Fabrication Guidelines:
- Material selection considerations
- Welding requirements
- Stress point reinforcement
- Surface finish requirements
Professional Tips and Tricks
Expert mechanics recommend:
- Always mock up assemblies before final installation
- Keep detailed records of modifications
- Use alignment tools when available
- Take photos during disassembly for reference
- Maintain a database of common fitment solutions
Legal and Warranty Considerations
Before modifying any components:
- Review vehicle warranty terms
- Document all modifications
- Maintain receipts and installation records
- Consider insurance implications
- Verify compliance with local regulations
Shop With Confidence
At PartsMax, we understand the challenges of aftermarket fitment issues because we face them daily in our workshop. Our extensive experience has helped thousands of customers avoid common pitfalls and achieve perfect fitment.
Visit Our Facilities
Our state-of-the-art warehouse in Miami, Florida, stocks thousands aftermarket parts in stock. Our technical team is available to:
- Provide fitment verification
- Offer installation guidance
- Demonstrate proper modification techniques
- Share professional installation tips
Additional Resources
For ongoing support and information:
- Manufacturer Technical Hotlines
- Professional Forums:
- Professional Mechanics Forum
- Brand-Specific Technical Groups
- Regional Installer Networks
Conclusion
Successfully managing fitment issues with aftermarket parts requires a combination of technical knowledge, proper tools, and careful attention to detail. By following the guidelines outlined in this article and maintaining proper documentation, you can minimize installation challenges and ensure optimal performance of aftermarket components. Remember that proper fitment is crucial not just for performance, but for safety and longevity of your vehicle modifications.
Key Takeaways:
- Always verify parts before installation
- Use proper tools and measurement techniques
- Document all modifications
- Follow manufacturer guidelines
- Maintain detailed records
- Consider professional installation for complex components
Ready to tackle your next automotive project? Visit our warehouse in Miami, Florida, or shop our complete selection online. Our technical team is available Monday through Saturday to help you choose the right parts and ensure proper fitment for your vehicle.
Note: This article is regularly updated to reflect the latest industry standards and best practices for aftermarket part installation.

