Step-by-Step Guide on How to Change Oil in Your Car
Changing the oil in your car is part of routine maintenance. Maybe you're wondering; is DIY oil change worth it? Well, it may seem complicated but it's easier than you think. Just roll up your sleeves and prepare to get your hands dirty. Here is a step-by-step guide on how to change your oil and filter.
Buy the right oil and filter
To buy the specific type of oil, you should refer to the manufacturer's manual. You'll need a filter wrench and a drain plug.
Lift the vehicle
Position two jacks under your vehicle to lift it. You can also use a set of ramps where you drive your vehicle. If you use the latter, you must brace the back wheels. Make sure you have enough ground to work on all sides of the car.
Place the drain pan underneath the engine
Your drain pan should hold twice as much oil as your engine needs - none of the liquid should spill on the sides. Crouch underneath the vehicle to locate the drain plug. Normally, it's 1-2 feet from the front of your car.
Remove the oil cap
Open the hood of your car to locate the oil cap. It's 2 inches and comes with an oil symbol. Next, remove the oil cap by unscrewing it anticlockwise. Be sure to place it nearby so that you don't lose it. After you remove the oil cap, the liquid will drain out fast.
Pull the oil plug
Use a socket or crescent wrench to loosen the plug. To ensure the oil doesn't get all over your arm, apply an inward force as you remove it. After you unscrew the bolt, pull it away from the opening. For most models, the washer between the drain plug and oil pan - remove this as well and place it on the ground.

Drain the oil
The oil will drain out at once. Being a thick liquid, give it 3-4 minutes before draining it. Once the oil stops running, replace the plug. First, you should replace the plug you had removed earlier and turn it clockwise.
Replace the oil filter
Depending on the engine model, the filter can be at the top, back, or side of the engine. Typically, oil filters can be 4 inches long and 3 inches wide. If you have no idea what to look for, look at the replacement filter you purchased. However, some models like Mercedes and BMWs may not have the spin-on type. If your car has a filter element or cartridge, you must open the cap of the built-on reservoir to lift the filter element.
Twist the filter counterclockwise to remove it. You can use your hand or filter removal tool. Of course, the drain pan should be beneath it to prevent spillage. If you don't want to spill too much oil, you can place a plastic bag to catch any liquid that escapes. Allow it to sit upside down as you finish the job.
Rub the oil gasket to prepare the new filter
Dip your finger in the replacement filter and create a good seal. This will ensure you won't have to get the oil filter off the next time. But before installing it, you can place a few drops. The trick here is to reduce the time to regain proper oil pressure. If the filter is at an angle, a small amount of oil may spill before spinning it. Now, you can screw the new filter in place.
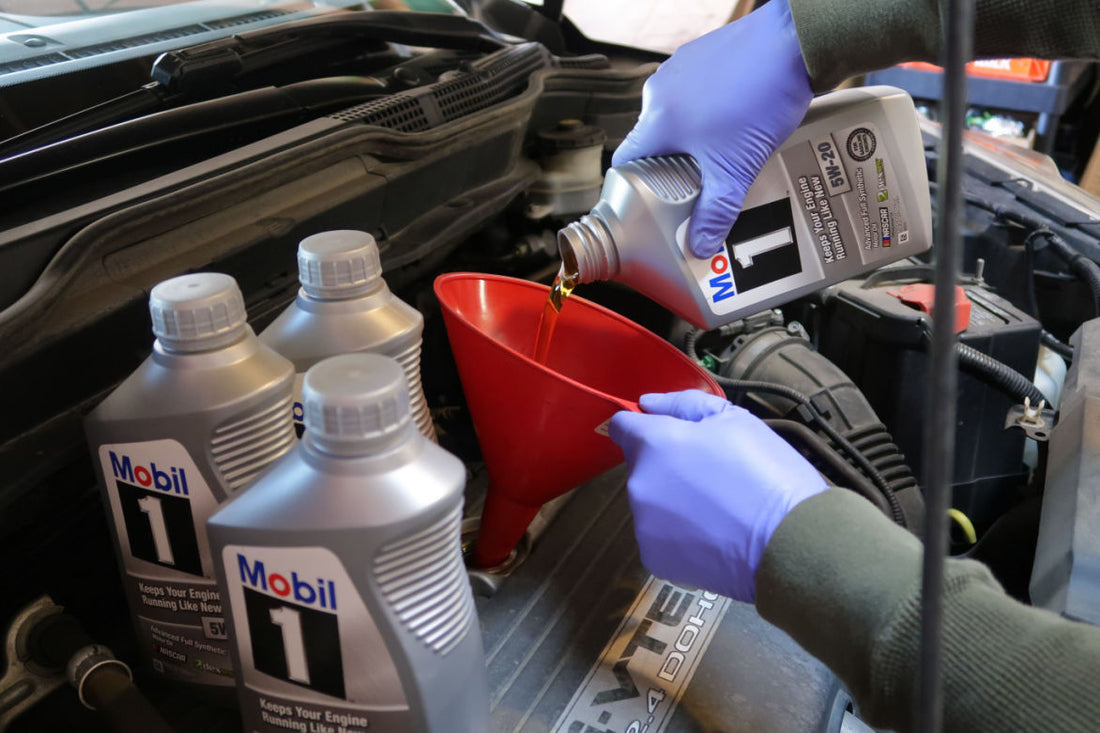
Adding new oil
Unscrew the oil jug with the sprout facing you. Next, turn the oil can swiftly and place the tip on your car's engine will hold. Don't spill the oil. Refer to the manufacturer's manual to ensure you add the correct amount.
Replace the fill cap
Turn the fill cap clockwise and check for any loose tools close to the hood. Wipe any spill to make sure nothing is leaking.
Start your engine
Run the engine for a few minutes to ensure everything is installed correctly. If the oil pressure is on, the oil may not be enough.
Check the oil level with a dipstick
Allow the oil to settle for a few minutes to ensure the level is where it needs to be. If the engine is still low on oil, you can add a little and wait 5-10 minutes.
If you're looking for aftermarket auto parts and accessories in South Florida, we invite you to our retail store. You can also buy our products online.
It's time you get under your car and save the big bucks!

