The Beginner's Guide to Replacing Your Own Brake Pads
Your brake pads are one of the most important pieces of safety equipment in your car, and it is essential to keep them in prime condition. The problem is that they can wear down pretty quickly and need replacement quite regularly. So, can you change your own brake pads, and if so, how difficult is it?
Signs That Your Brake Pads Need Replacing.
The problem with front brake pads is that they tend to wear out faster than rear ones, so they will need replacing more often. The sooner you pick up on any signs they are getting too thin, the better. Ideally, your car will have some brake pad sensors to help you out. If not, listen for squealing, grinding, and other harsh metallic noises. It is also worthwhile inspecting them now and then to see how thin they are before they get too bad.
Is It Easy To Change Your Own Brake Pads?
Because these pads need replacing so often, many car owners decide to take on the task themselves rather than take the car to a mechanic. Is this a good idea? Well, it all depends on your confidence in automotive repair, your ability to get the right tools, and your attention to detail on the job. Some people will have no problem with the tips in the guide below and can make this part of regular DIY car maintenance. Others may struggle with some steps without the right tools and applications.
What Do You Need To Change Your Own Brake Pads?
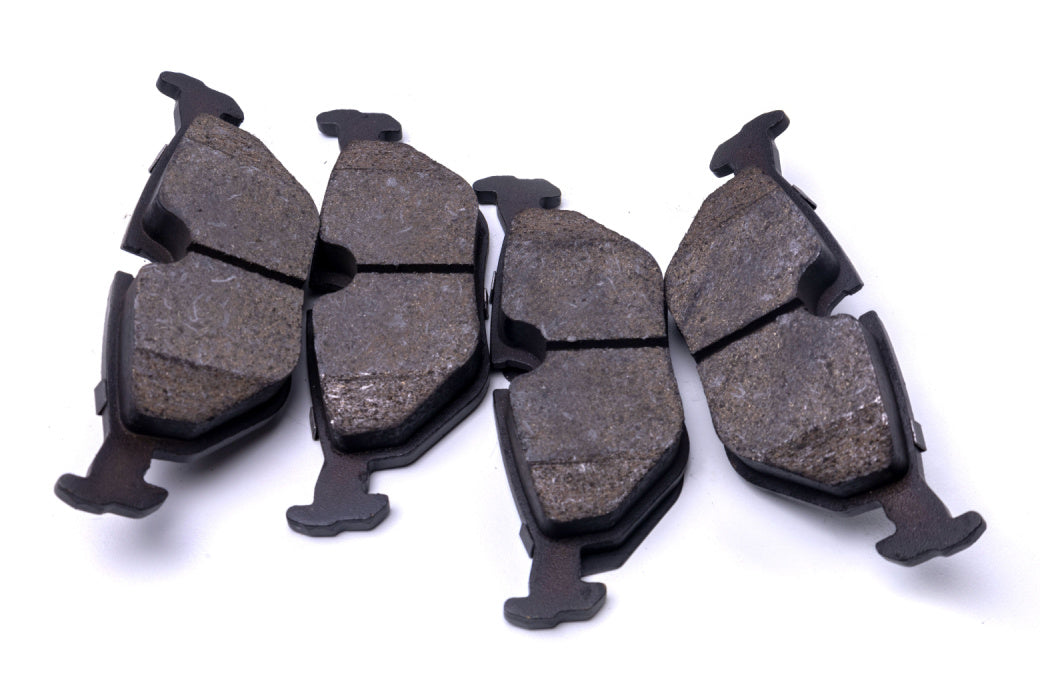
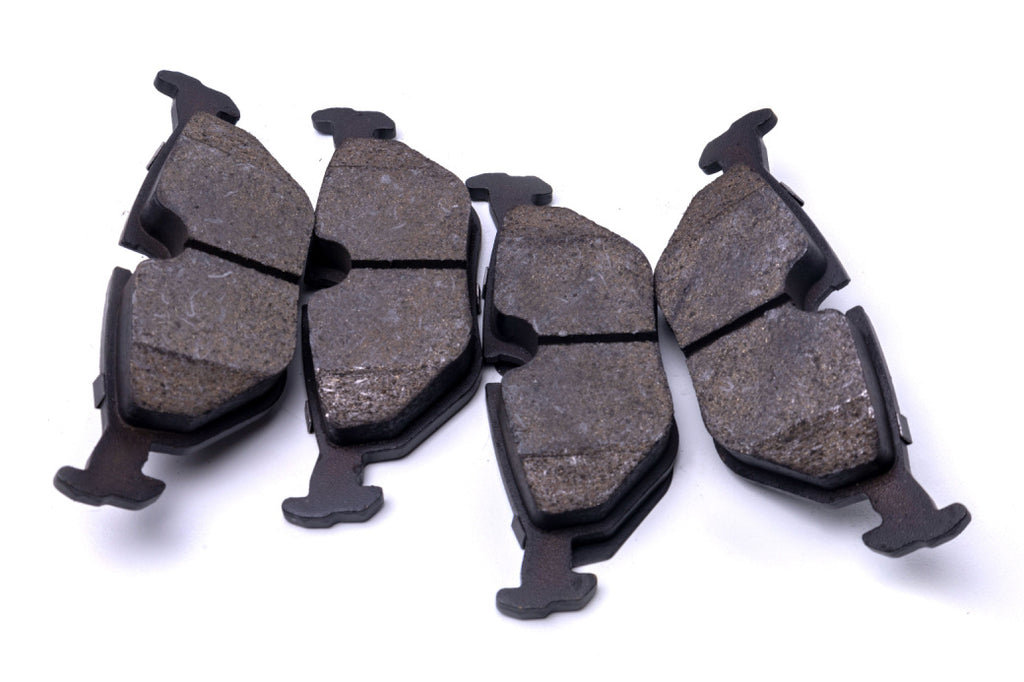
First and foremost, you need a set of thick new brake pads. The best practice is to find brake pads from the original manufacturers for a direct replacement. This ensures a completely compatible swap with fewer installation issues. It may be more costly, but it is worth it for the quality and reliability. Then you need some brake fluid that’s compatible with your model of car. As for the tools:
- A jack and jack stands
- A lug wrench
- A c-clamp
- A wrench
- A turkey baster
- Bungee cords or other ties.
How Do You Change Brake Pads For Beginners?
- Remove the wheel. It's an obvious starting point, but you need to be prepared to do so with the right lug wrench, jack, and jack stands. Once the wheel is off, you can angle it with the steering wheel to provide better access to the caliper.
- Next, you need to deal with the caliper and get it out of the way. It helps to know in advance if you have a sliding-caliper or fixed-caliper system. Be aware that it is much easier to deal with a fixed caliper. Remove the slider bolt and pivot the caliper up with the C-clamp
- Replace the pad. Slide out the old pad and slide in the new one. This should be easy enough, especially if it comes with grease clips. Then retract the pistons.
- Keep an eye on the brake fluid level. There is the potential for overflow here while dealing with the mechanisms. This is where the turkey baster comes in handy.
- Reposition the caliper and bolt. Check everything is aligned and not catching on the pads.
- Once everything is all in place and secure, you can then move onto the second wheel and repeat the process again.
- Take it for a test drive. Don’t assume that everything is perfect the first time. Take the car on a careful test drive to see how the brakes respond and if you can hear any of the same noises – or any worrying new ones.
Getting A Mechanic To Replace Your Break Pads Instead.
If you aren’t confident in handling this alone and prefer the idea of a full professional service, you can contact your mechanic to replace them for you. The upside here is the peace of mind that a skilled expert can use the best tools and get everything aligned perfectly. They may also spot other potential issues at the same time. The downside is potentially being off the road for longer and paying more for the privilege.
Turn To Partsmax Auto Parts and Accessories For The Best Car Parts.
DIY brake pad replacement is possible, and you can do a great job on your own with the right approach and tools. Partsmax Auto Parts and Accessories is the largest aftermarket auto parts warehouse in Florida. Do you have questions? Call us we have answers!


